# Tire Change and Fitting
Fitting tires
How a tire is fitted
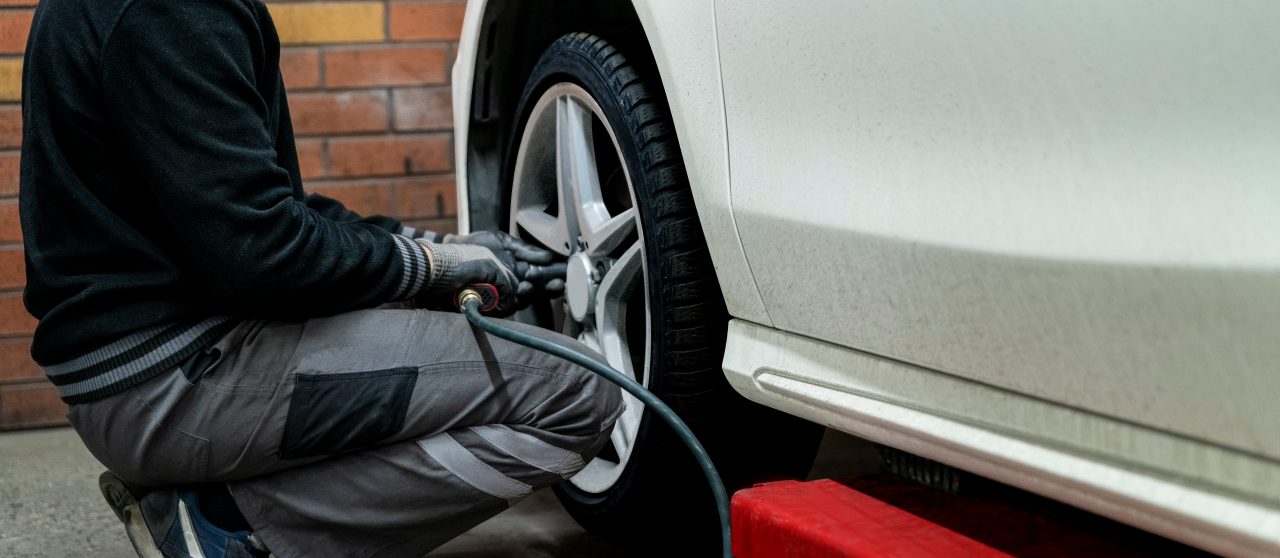
Congratulations, you've got yourself a new set of tires. Fitting new tires to the wheels of your car is a straightforward process when done correctly and safely by a qualified professional. In this section, we explain what this process entails at your local tire shop or garage.
Who can fit tires?
Objectively speaking, you could attempt to do this yourself. In addition to your new tires, the tools required would be a tire iron, a car jack, jack stands, a tire spreader, and a tire inflator. But even if you do have the proper tools and equipment at hand, it will take you far longer to fit new tires than it would a professional. Just removing a single tire from a wheel can be a challenge.
About the dangers of faulty fitting
An incorrectly fitted tire can become damaged and burst. The energy released in a blow-out could lead to traffic accidents involving vehicle damage and serious personal injury. That's why it's essential to have tires fitted by an experienced technician, who will take the necessary precautions and use only approved fitting tools and lubricants.
Removing the wheel from the vehicle
Step 1: The car should be empty of passengers, with the engine turned off and the handbrake engaged. The tire fitter will proceed to loosen the lug nuts on all four wheels with a lug wrench. But he won't remove them yet.
Step 2: Next, the car will be raised on a hydraulic lift, so that all four wheels are completely off the ground.
Step 3: Now the fitter will remove the lug nuts completely, allowing him to remove each wheel.

Fitting the tire to the wheel
Step 1: The fitter will unscrew and remove the valve insert from the old tire, to release the inflation pressure. Once all the air has escaped, he will remove the old tire from the wheel rim using a special tool called a tire spreader. It enables him to move the tire sidewall and bead clear of the rim.
Step 2: The diameter of the new tire should match the diameter of the rim, and it should be approved for use with the vehicle. Rims should be the correct size, in perfect condition, and free of rust. They must not be damaged, deformed, or worn.
Step 3: When fitting tube-type tires, the tire fitter will opt to use new inner tubes. That's because tubes stretch in use, and there's a risk of folds forming in old tubes; a recycled inner tube could suddenly tear.
Alternatively, if tubeless tires are being fitted, they should always be equipped with new valves. If using rubber valves for tubeless tires – sometimes known as snap-in valves – the vehicle manufacturer's instructions should be referred to in the first instance. For certain tire specifications, a valve support is also necessary; this is a stopper on the rim itself or the hubcap, which ensures that valves are not forced off at high speeds.
Step 4: Moving on to the tire beads, the fitter will coat the beads and the rim with fitting lubricant as recommended by the tire manufacturer. Then he will use the tire spreader to mount the tire onto the wheel.
Step 5: Next comes the inflation of the tire. For the duration of this stage, the wheel must remain firmly secured on a mounting machine. Inflating an unsecured tire is dangerous. The fitter will be aware of this; it's also why he keeps a reasonable distance from the tire during inflation. Typically, he will use a sufficiently long, secured extension hose with an integrated pressure gauge, and he won't be bending over the tire as it fills up with air.
Step 6: Once the beads of the tire are seated correctly on the shoulder of the rim, the fitter will increase the tire pressure to achieve a firm grip on the flanges of the rim. This fitting pressure shouldn't exceed more than 150% of the maximum pressure recommended by the manufacturer or be greater than 4.0 bar. Next, the fitter will adjust the pressure to the operating pressure as specified by the vehicle manufacturer.

Check the direction of tread patterns
Directional tires must rotate in the direction of the arrow on the sidewall as the wheel rolls forward.
The only exception to this rule concerns the short-term use of a spare tire. But drivers should revert to the specified fitted position at the earliest opportunity.
In case of asymmetrical tires, fitment must be with the sidewall "outside" on the outside of the vehicle, so their asymmetrical treads can achieve optimal effect.
Fitting the wheel to the vehicle
Step 1: If the old tire shows signs of uneven wear, then the fitter will check the axle geometry of the car and make corrections if necessary.
Step 2: Valves should be fitted with valve caps – ideally with a sealing ring – to protect the delicate valve inserts and the inside of the tire.
Step 3: When mounting wheel caps and wheel trim rings, the fitter will ensure that there is sufficient clearance for the sidewall of the tire. The wheel cap or wheel trim ring mustn't come into contact with the tire under any circumstances, especially for tires with rim protection flanges.
Step 4: After tightening the lug nuts by hand, the fitter will lower the car to the ground with the hydraulic lift.
Step 5: Finally, once the car is on the ground, he will tighten the lug nuts more firmly in a star pattern.

Costs of fitting tires
If you were to visit a tire dealer or mechanic to fit your new tires – and we recommend that you do – the cost can vary depending on your requirements. You could buy a new set of tires from a dealer and have them fitted at the same time, for example. Or your fitter may notice that the car requires additional work if your old tires are exhibiting unusual signs of wear and tear.
Perhaps the most cost-effective approach in the long-term, especially when it comes to switching between summer and winter tires, would be to purchase a complete set of tires and wheels together. That way, you can bring your tire and wheel package to your local garage for a simple switchover when the seasons change. For a small fee, the garage can even store your alternate set of wheels for you when they're not in use.
Related content
-
 2026/01/21Continental recommends fitting tires with the same brand, size, tread pattern, load index, and speed rating to every wheel position on your car.Mixing tiresRead more
 -
 2026/01/21The seasons change, so why not the tires on your car? We explain how a driver should choose between summer tires, winter tires, or all-season tires.Changing tiresRead more
 -
 2026/01/21Want to repair a tire puncture? Drivers must know whether a repair on a flat tire is legally permissible, or whether they have to buy a new tire instead.Tire repairRead more